

You can easily paint metal if you have the right paint and do a little bit of prep. Doing it right the first time means the paint sticks better, you won’t need multiple layers, and you’ll have a better finish for longer. We recommend Ronseal Direct to Metal Paint.
What’s the best metal paint?
As a starting point, you need to use paint specifically formulated for metal surfaces. This might be labeled as multi-surface paint or metal paint. If you don’t use this paint, it will peel, blister or flake, completely ruining your finish.
Not all metal paints are suitable for every type of metal. For example, the paint might be suitable for aluminum and not galvanized steel. Always check the suitability of the paint before you start the project.
Metal paint is also a protective coating for exposed or outdoor surfaces. It slows down and prevents oxidisation, so it’s much less likely that the metal will corrode and rust.
Look for metal paint that’s durable and has lasting protection. Not only will the finish look good for much longer, but the metal will remain in a healthy condition too.
Some metal paints can be applied directly to rust, which is really handy to cut down on your prep time. However, painting directly over too much rust might leave you with a textured finish instead of a smooth surface.
Many metal paints might need a primer before applying it, so check the instructions before you start.
The best metal paints are long-lasting, protect from rust and are easy to apply.
How to prep metal for paint
The prep you do depends on the paint you’re using; but it is absolutely key for fantastic, long-lasting results.
If you’re not using our fantastic Direct to Metal paint, you’ll need to add an extra step to your prep - priming.
When you’re using Direct to metal paint, here’s how to prep for it:
- Remove loose rust or flaking paint with a wire brush. If you don’t have a wire brush, 120 grit sandpaper will do the job just as well.
- Use a damp cloth and wipe down the metal. Clean up any dust, dirt and grease.
If you’re painting metal that’s already painted and in good condition, use 240 grit sandpaper to rough up the surface. This creates enough of a texture for the paint to stick to.
And that’s all the prep you need! Our Direct to Metal paint doesn’t need a primer, so you can paint it straight on.
How to paint metal
Now you’ve done your prep, you’re ready to paint!
You’ll need your metal paint, a brush, dust sheets and a clean cloth or rag.
Put down your dust sheet and protect surfaces where you don’t want to get paint. This is especially important if you’re using a sprayer because while it’s great for intricate detail, it’s a lot harder to control.
If you’re painting indoors, open the windows and doors and ventilate the room as much as you can. If you’re outdoors, choose a dry, warmish day above 10 degrees.
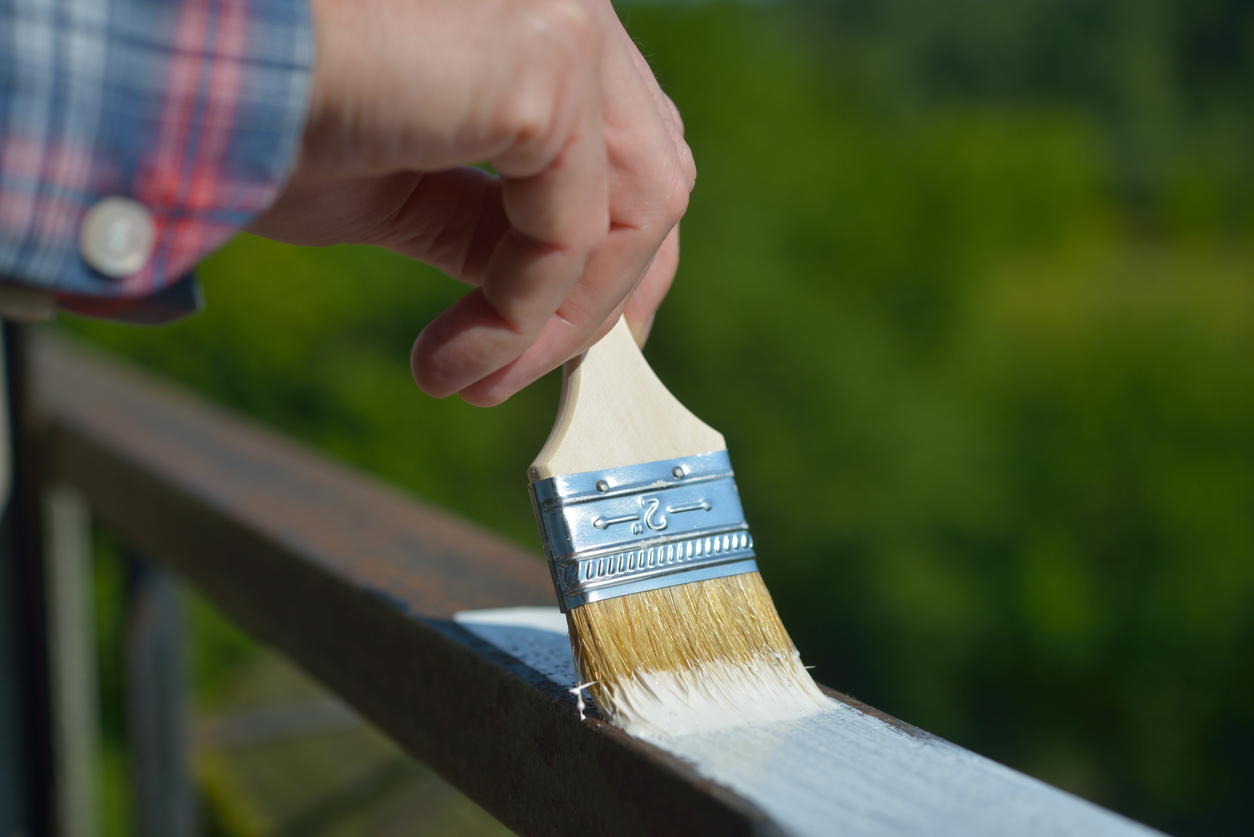
When using a can and a brush:
1. Stir the paint for a few minutes making sure it’s thoroughly mixed.
2. Dip in your paintbrush and wipe the excess against the rim. If you’re painting metal with intricate details, like a garden chair, start here first. Work in long strokes and paint in the same direction for the best finish.
3. Check the tin for how long you need to wait between coats. For our Direct to Metal paint, you need to wait for two to four hours. We recommend three coats, lightly sanding in between, for the best protection and finish, but always check the instructions of the paint you’re using first.
And that’s it!
Painting metal is so easy, and it’s a great way to revive unloved furniture or rusty metal.
To look after your metal, check it for imperfections every year. This will help prevent rust from developing and ensure you get a great finish for longer. If you spot any cracks, blisters or scratches, sand away loose paint and touch up the area with two coats of paint coats.